
Annotate Screenshot Online
Annotate screenshot images online, free and with no signup. Press Ctrl+V to paste one straight from your clipboard, then mark it up with arrows, boxes, circles, labels and a highlighter. Every mark stays editable until you download. Nothing is uploaded. Up to 25 MB.
Drop your screenshot to annotate it
Arrows, boxes, labels and a highlighter, all on the rail on the left. Or press Ctrl + V to paste one straight from your clipboard. PNG, JPG or WebP, up to 25 MB. Edited in your browser, never uploaded.
Mark It Up.
Send It On.
An annotated screenshot is the cheapest communication tool in software. One arrow and three words replaces a paragraph nobody will read carefully. The friction is never the marking up, it is the four steps most tools put in front of it: save the file, find the file, upload the file, make an account.
Tools that pair well with this one
All free, all in your browser, no signup.
Why use Piknova?
Annotate a screenshot without installing anything. to get the job done.
What this screenshot annotator does that a desktop capture app or a browser extension makes you install for.
Piknova
What you get- Annotate a screenshot in the browser, no install, no account
- Arrows, boxes, text and blur in one place
- Blur the part you should not share before you send it
- Exports at the original pixel size, no watermark
- The screenshot never leaves your device
Other tools
What you put up with- An extension or a desktop app first
- A few markers, the rest in the paid tier
- No blur, or blur as a premium tool
- A logo in the corner on the free plan
- Uploaded to a share link by default
How to annotate a screenshot
Three steps, no account, 25 MB per image.
- 01
Paste or drop your screenshot
Ctrl+V works straight from the clipboard. Or drag a PNG, JPG or WebP onto the box.
- 02
Mark up what matters
Arrow at the thing, box around the region, label to say what is wrong, highlighter over the line to read first. Pick tools from the rail on the left.
- 03
Download or copy it
PNG keeps interface text and edges sharp, which is what you want for a screenshot. Or copy it straight back to the clipboard and paste it into your ticket.
The markup kit
Mark up a screenshot without saving it first
Taking a screenshot already puts it on your clipboard. Most tools then make you save it to disk, find it again, and upload it, which is three steps that exist for the tool's benefit rather than yours.
Press Ctrl+V anywhere on this page and the editor opens with your screenshot in it. From there the rail on the left has every mark people actually put on one.
- Arrows and lines: Straight or dashed, any colour and thickness. The fastest way to point at one control in a crowded interface.
- Boxes and circles: Outlined to frame a region, filled to cover one. Both are three seconds and they mean opposite things.
- Text labels: With an outline option, because a screenshot is already full of text and yours has to win.
- Highlighter and pen: Freehand, semi-transparent marker or solid pen, for the times a rectangle is too tidy for what you mean.
- Emoji and images: A tick, a cross, or a second screenshot dropped on top to show two states together.
Nothing is destructive until you export. Undo fifty steps, hide a layer and bring it back, restyle a mark you made ten minutes ago.
Bug reports
Annotating a screenshot for a bug report
A good bug screenshot answers three questions before anyone has to ask them: what is wrong, where exactly, and what you expected instead. Most bug screenshots answer none of them and get a reply asking all three.
The pattern that works is boringly consistent, and it takes about twenty seconds:
- Box the region: An outlined rectangle around the component that misbehaved. This is the part that saves the reader scanning a 3840px screenshot.
- Arrow the exact element: From an empty margin, pointing at the specific control. Coming in from outside means the arrow does not cover the evidence.
- Label what you expected: Not what happened, which is visible. "Should say 12 items" is worth more than "wrong count".
- Cover anything private: A filled box over the token, the email address or the customer name. Tickets get read by more people than you think.
Then copy it straight back to the clipboard rather than downloading. Most issue trackers accept a paste directly into the description field, which means the marked-up image never touches your filesystem at all.
Tutorials and how-tos
Annotating screenshots for a tutorial
A tutorial screenshot has a different job from a bug screenshot. A bug report points at one broken thing; a tutorial has to be followed in an order, by someone who does not know where anything is.
Which changes the marks you want. Arrows are weaker here than people expect, because three arrows on one image do not imply a sequence. Numbered labels do.
- Number your steps: A filled circle with a number in it, next to each control. Two layers per step, and the reader knows the order without being told.
- Keep one visual language across every image: Same colour, same label size, same shape style in every screenshot of the series. Inconsistency reads as a different tutorial.
- Crop before you annotate: A tutorial screenshot of a whole 4K desktop is unreadable in a blog post. Trim to the region that matters first, then mark it up.
- Do not cover the thing you are describing: The most common tutorial mistake is a label sitting on the button it names.
Freehand
Draw on a screenshot, or highlight part of it
Shapes are tidy and sometimes tidy is wrong. A scribble around an area with no clean rectangular boundary says "roughly here" better than a rectangle pretending to be precise.
The pen draws a solid line in whatever colour and thickness you set. The marker draws semi-transparent, so text underneath stays readable, which is what makes it a highlighter rather than a redaction. The eraser takes back the one stroke you regret without undoing everything after it.
For highlighting a line of text in a screenshot, the marker at around 30% opacity over the line is the closest thing to a real highlighter. For circling a vague region, the pen at medium thickness beats a perfect ellipse, because it looks like a human meant it.
Privacy
Covering something sensitive, and why nothing is uploaded
A screenshot is the single most sensitive image most people ever edit. It is a bank statement, a private chat, an internal dashboard, a support ticket with a token still visible in a header.
Browsers can open and draw on images unaided, so there is no technical reason to send one to a server for this. Every tool that does it anyway has made a choice about where your file goes, and most of them are quiet about it. Here the image is read by this tab and stays in it.
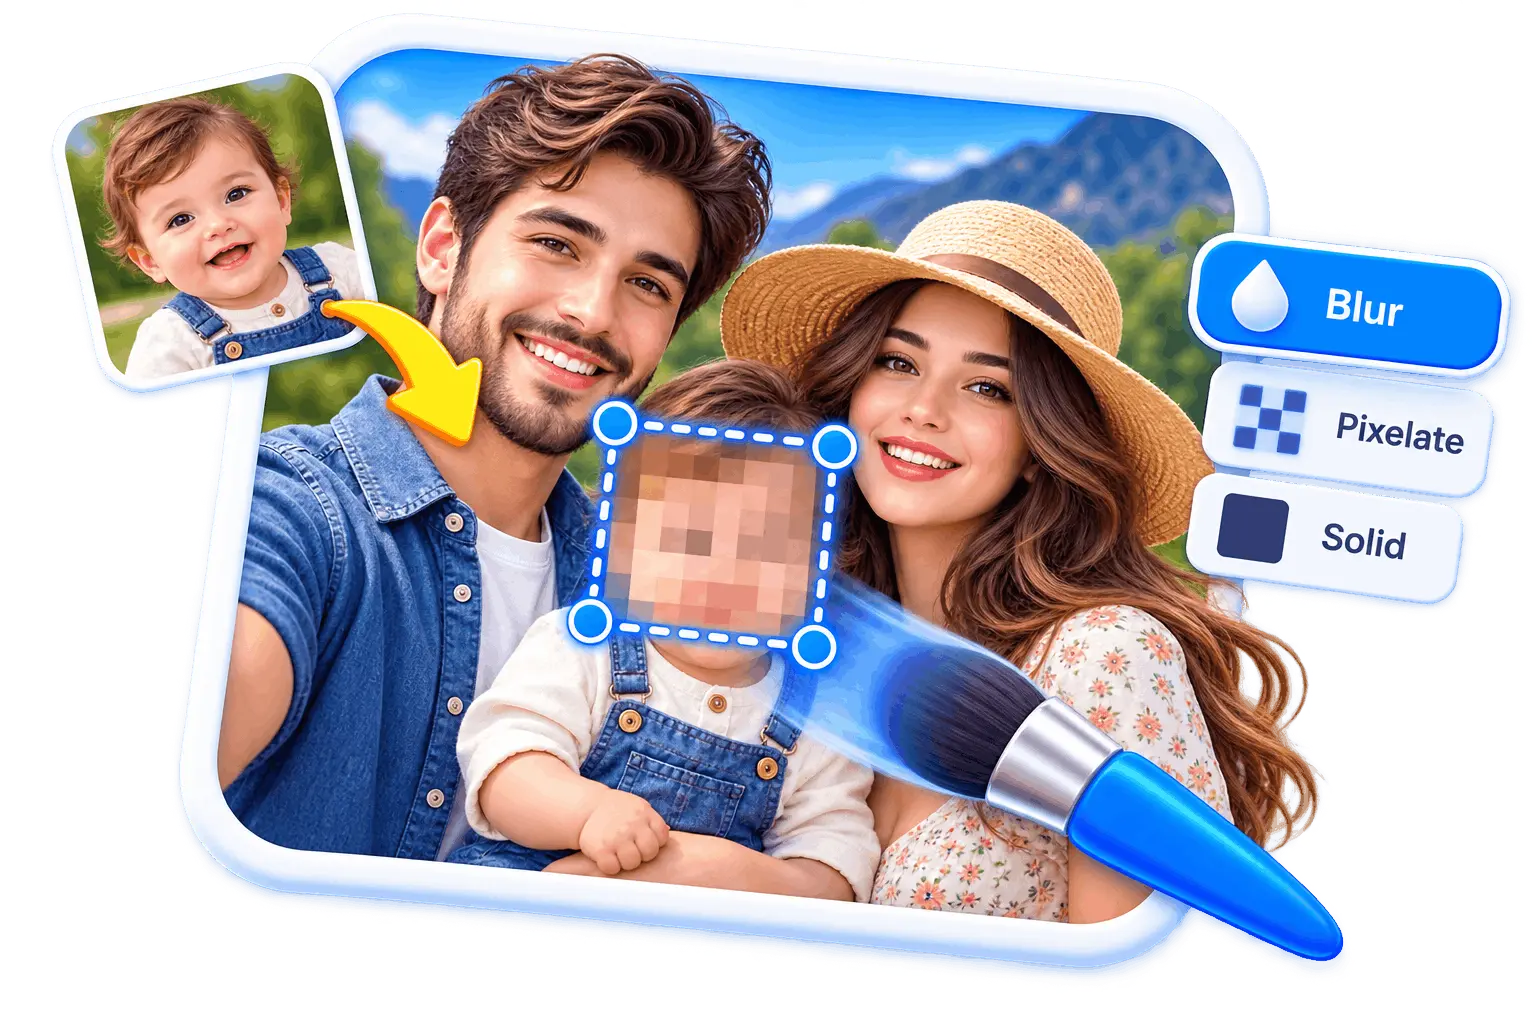
To hide a password, a card number or an email, use the Redact tool: drag a shape over it or trace freehand around it, and pick blur, pixelate, a solid box, an emoji or a glitch. For anything that genuinely matters, pick Solid. Blur and pixelate transform the original pixels rather than removing them, and a light one can sometimes be partially undone; a filled box exports as flat pixels with nothing underneath. The panel says that where you choose, instead of leaving you to find out later.
Frequently asked questions
How annotation works here, and where it stops.
Take your screenshot, then press Ctrl+V on this page. The editor opens with your image in it, and the whole markup kit is on the rail on the left.
Arrow the thing you mean, box the region around it, add a label saying what is wrong or what to click, then download it or copy it straight back to your clipboard. No account step and no watermark.
No. It runs in this tab. Nothing to install, nothing to update, no browser extension, and it keeps working if your connection drops, because the screenshot was never going anywhere.
Yes. No signup, no export limit, no logo in the corner. The work happens on your computer rather than ours, so there is no per-image cost for us to pass on.
All three, plus circles, stars, a highlighter, a pen, emoji and a second image dropped on top. Each lands as its own layer, so you can move it, recolour it, send it behind something or delete it later without touching the screenshot underneath.
Two ways. The marker draws semi-transparent freehand, so text under it stays readable, which is the closest thing to a real highlighter. Or draw a rectangle with a semi-transparent fill over the region, which is tidier for a block of text.
Use the Redact tool and choose Solid. There is a real blur and a real pixelate in there too, and for a password neither is the one to reach for: both are transformations of the pixels that were there, and a weak one can sometimes be partially reversed, whereas a filled box exports flat with nothing under it. Drag a shape over the field or trace around it freehand.
Yes. Use Copy instead of Download and the marked-up image goes back to your clipboard, so it can be pasted directly into most issue trackers and chat apps. Clipboard in, clipboard out, and nothing ever hits your Downloads folder.
No. Your browser opens the file and draws on it locally. Nothing is sent to a server, which is also why it is instant on a 4K screenshot and why nobody here could look at your dashboard even if they wanted to.
Yes, and for tutorials you usually should. Select the image and use Crop in its own toolbar. It lives with the picture rather than in the tool rail on purpose, so when there are two images on the canvas there is no doubt about which one you are trimming.
Within the same browser, yes. Work in progress is kept locally, so a refresh or an accidental tab close does not lose your markup. Clearing your browser data does, and it does not follow you to another device, because it was never on our servers to sync.
Annotate your screenshot now
Paste it, mark it up, copy it back or download it. Nothing gets uploaded and nothing gets watermarked.