
Merge Images into One
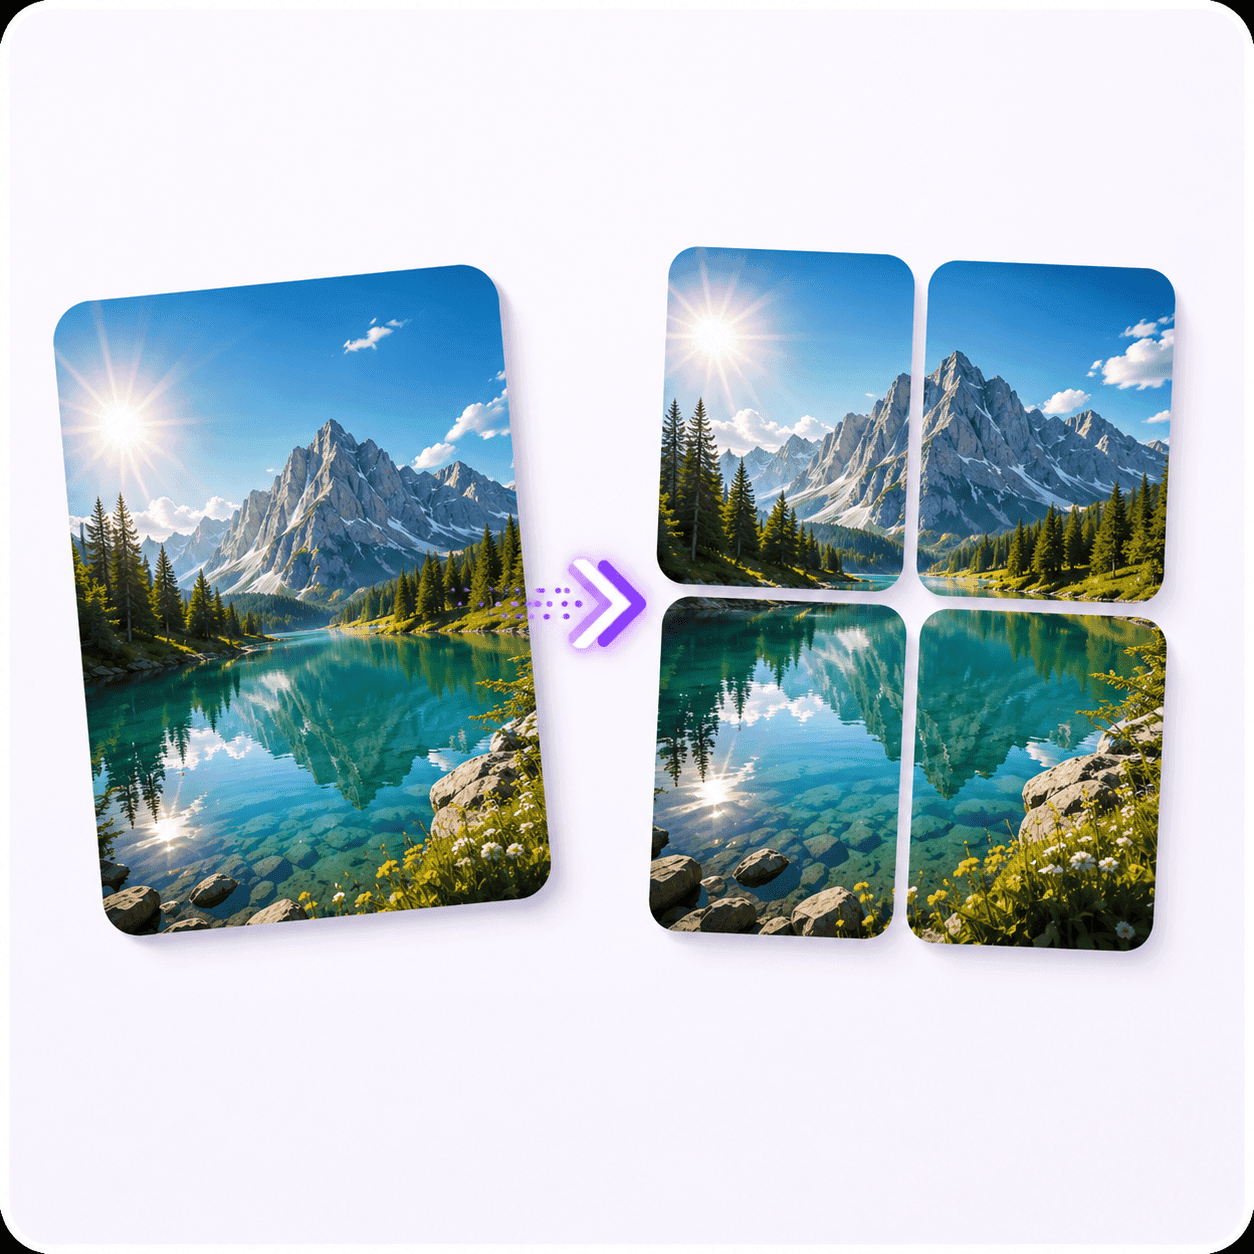
Merge images into one picture online: combine 2, 3 or 4 photos side by side, stacked, or in a 2x2 grid. Works on JPGs, PNGs and screenshots, and it all runs in your browser, so nothing is uploaded.
Drag & drop to merge
Up to 4 images into one. Nothing is uploaded.
Two pictures in,
one clean image out
Combine up to 4 images into a single grid, side-by-side, or stacked layout. Perfect for collages, before-and-after posts, X threads, LinkedIn slides, and YouTube thumbnails. No signup required.
Tools that pair well with this one
All free, all in your browser, no signup.

How to merge images into one
How to combine images without installing anything: three steps from separate files to one.
Upload
Add up to 4 images to combine.
Arrange
Pick a layout, set the size handling and the background.
Download
Choose PNG, JPG or WebP at any size. All free.
Same button, either word
Combine multiple images into one
Merge and combine are the same job here, so it does not matter which word you arrived with. Several separate files go in, one image comes out, and the only decision that matters is how they sit next to each other.
People call it different things depending on what they are holding. Combine images into one is the usual phrasing, combine photos when they came off a phone, and merge multiple images into one when there are more than two. Same button, same result.
What does change is the count, so here is the plain version of what happens to each one.
- Merge 2 images into one: The most common merge there is. Side by side for a comparison, stacked for a tall post. The grid layout also handles two, laying them out as a single row rather than reserving an empty second one.
- Merge 3 images into one: A row of three reads well on a wide screen; a stack of three reads well in a feed. In the grid, the third image starts the second row and the fourth cell stays background-coloured until you fill it.
- Merge 4 images into one: The 2x2 grid, which is what most people picture when they say collage. Four equal cells, one square-ish output, no template to fight with.
Four is the ceiling, and we would rather say so on the page than let you find out at the file picker. It is the number the 2x2 grid can lay out honestly. If you need eight photos in one frame, merge four, then merge that result with the next four: the output of a merge is just an image, so it goes straight back in.
Merge images side by side, or stack them vertically
Combine images side by side, stack them into a column, or drop four into a grid. Three layouts, and the only real question is which direction the seam runs. Pick one, drag the tiles to change the order, and the preview updates before you commit to anything.
| Layout | How it arranges | What people use it for |
|---|---|---|
| Side by side (columns) | Images sit next to each other in a wide frame. The seam runs vertically. | Before-and-after pairs, product comparisons, two screenshots of the same screen in two states |
| Stacked (rows) | Images sit one above the other in a tall frame. The seam runs horizontally. | Long screenshots, step-by-step sequences, anything read top to bottom in a feed |
| Grid (2x2) | Up to four cells in two rows of two. | Collages, four-panel thumbnails, a set of shots that has no natural order |
To put two images side by side, choose the side-by-side layout and add exactly two files. To merge photos side by side in a row of three, add three. The layout does not change, only how many cells it has to fill.
To merge images vertically, choose the stacked layout. This is the one people most often assume is missing, usually because some other tool offered them a horizontal strip and nothing else, and it takes the same two, three or four images every other layout does.
Merge two images into one
Combine two images into one and you are almost always making a comparison, which is exactly why this case has to be right: a comparison that quietly resizes one side is not a comparison any more.
The trap when you merge two photos is that they are rarely the same size. A phone shot beside a cropped screenshot, a 4000px original beside a 900px export. Every merger has to reconcile that somehow, and most of them do it silently by scaling everything up to the largest and blowing the small one into mush.
You get to pick instead. For a before-and-after where both images came off the same camera, leave it on the default and nothing changes. When you merge images for comparison and sharpness is the whole point, use 'crop the biggest': it resamples nothing at all and takes a centred window out of the larger image, so every remaining pixel is exactly as sharp as it started.
If the two images genuinely need to be the same dimensions before they meet, resize one first and then merge. Doing it in that order gives you control over the crop rather than letting a layout algorithm decide which edges to lose.
Merge screenshots into one image
Screenshots are the use case this tool is quietly best at, because they are the one set of images where 'do not adjust anything' is usually the right answer and almost no tool offers it.
Two screenshots of the same window are already the same width. They do not need scaling, they do not need cropping, and any tool that helpfully normalises them has just made your text blurry for no reason. Set the size handling to 'do not adjust', stack them, and the canvas grows to fit both at their native size. Nothing is resampled, so the text stays as crisp as the screen it came off.
Then pick a background that is not white if your screenshots are, because the seam between two white screenshots is invisible and a thin grey gap is the difference between one long image and one confusing one.
Bug reports
The console error and the broken UI in one attachment, so nobody has to ask which screenshot goes with which.
Tutorials and docs
Three steps stacked in order, at native resolution, with the text still readable at full size.
Support tickets
Settings screen plus result screen, side by side, when the form only lets you attach one file.
Before you merge them
Merge JPG, PNG, JPEG and WebP files
To merge JPG files into one, drop them in and pick JPG on the way out. Merge PNG files and the transparency survives. Mixing is fine too: a JPG photo next to a transparent PNG logo next to a WebP export is a normal merge, not an edge case, and you choose what comes out separately from what went in.
- JPG and JPEG: The same format under two extensions, so merge JPEG files and merge JPG files are the same request and both are accepted. Merging re-encodes once, at the end, which means you take one generation of loss rather than one per image.
- PNG: Transparency survives the merge. Choose a transparent background and the gaps around your images stay see-through in the exported PNG.
- WebP: In and out, where your browser can write it. Usually the smallest of the three for the same merged result.
- AVIF: Accepted as an input. The export list is PNG, JPG and WebP, so an AVIF goes in and comes back out as one of those.
One combination cannot work and the tool refuses to fake it: JPG has no alpha channel, so a transparent background exported as JPG would come back with black or white corners. Ask for both and you get a PNG instead, with a line on screen explaining why.
Join, stitch, combine: one tool, four words
Image combiner, image joiner, jpg joiner, photo joiner, photo stitcher. They are all names for putting several images in one frame, and they all land here. One of them means something else as well, and it is worth being clear about which.
- Joining and combining: Exactly what this page does. Join images, combine pictures, or put pictures together: whichever way you say it, they are placed edge to edge in a layout you choose and exported as one file.
- Stitching, the everyday sense: Also this page. Stitch images together the way people mean it when they have two screenshots, and what you want is a stacked merge with no resizing.
- Stitching, the panorama sense: Not this page, and we will not pretend otherwise. Panorama stitching finds matching features in overlapping photos, warps them onto a shared projection and blends the seams. That is a different piece of software and a much slower one.
The distinction matters because the two produce completely different results from the same two photos. A merge puts them next to each other with a visible seam, which is what you want for a comparison or a collage. A panorama makes the seam disappear, which is what you want when the two photos are halves of one view. If you came here for the second one, this is the wrong tool and you should not have to download a file to find that out.
Combine anything, cleanly.
The controls that matter when two pictures are not the same size, and when the gaps between them have to be the right colour.
Three layouts
Snap images into a 2x2 grid, stacked rows, or side-by-side columns. Switch with one click and drag the tiles to reorder.
You decide which image wins
Reduce the biggest, magnify the smallest, crop the biggest, or leave every image exactly as it is. Four answers, because there is no single right one.
Keep the shape, or fill the frame
Constrain proportions and each picture keeps its aspect ratio, letterboxed. Turn it off and images stretch to fill their cell edge to edge.
Any background, including none
Transparent, white, black, red, green, blue, or your own hex. The gaps between mismatched images are background, so this is not a cosmetic setting.
JPG, PNG, WebP and AVIF in
Mix formats freely: a JPG next to a transparent PNG is fine. Out comes PNG, JPG or WebP, your pick. Transparency and JPG cannot coexist, and the tool says so rather than handing you black corners.
Every size is free
Full size, 1080p or 720p, no account and no upgrade. Merging happens in your browser, so your images never touch a server.
Frequently Asked Questions
Everything you need to know about merging images.
An image merger takes several separate pictures and composites them into a single image. You choose how they sit together, then export the result as one file ready to post or share.
An image merger online, like this one, does the whole thing in the browser tab you already have open, so there is nothing to install and nothing to upload. It handles the alignment and sizing for you, which is the part that would otherwise mean manual cropping in something heavier.
You merge photos into one image whenever a single frame has to carry more than one thing:
- Collages for Instagram: Combine photos into one image and post it as a single polished square.
- Before-and-after posts: Place two images side by side to show a transformation.
- X threads and LinkedIn slides: Stack visuals so a comparison reads in a single glance.
- YouTube thumbnails: Merge panels into one attention-grabbing thumbnail concept.
Two, three or four in a single merge. More than two is the normal case, not a special mode: choose the 2x2 grid to fit all four, or a stacked or side-by-side layout for two or three in a line.
Four is the ceiling. For more than that, merge four, then feed the result back in with the next batch. A merged image is an ordinary PNG or JPG, so nothing stops it being one of the four inputs to the next merge.
Both, and in a grid as well. Three layouts cover the most common compositions:
- Grid (2x2): A balanced square mosaic for up to four images.
- Stacked (rows): Images placed one above the other in a tall frame. The seam runs horizontally.
- Side by side (columns): Images placed next to each other in a wide frame. The seam runs vertically.
Yes, and mixing them is not a special case. Drop a JPG, a PNG, a WebP and an AVIF into the same merge and they are all decoded to pixels before anything is drawn, so the format each one arrived in stops mattering the moment it is on the canvas.
What you choose separately is the format that comes back out: PNG, JPG or WebP. The only rule is the transparency one. A PNG with a transparent area keeps it if you export as PNG or WebP, and loses it in a JPG, because JPG has no alpha channel to put it in.
Yes, and screenshots are the case worth setting up properly. Two shots of the same window are already the same width, so switch the size handling to 'do not adjust' and stack them. Nothing gets resampled and the text stays exactly as sharp as it was on screen.
Pick a background colour that contrasts with the screenshots themselves. Two white screenshots on a white background merge into one image with no visible boundary, which reads as a rendering bug rather than as a deliberate stack.
It does not have to. There are two places quality can go, and you control both.
- Resampling: Only happens if you ask for it. 'Do not adjust' and 'crop the biggest' both draw every image at its original pixel scale, so nothing is stretched or squeezed.
- Re-encoding: Happens once, at export, for the whole canvas. Choose PNG and it is lossless. Choose JPG and you take a single generation of loss no matter how many images went in.
One thing that is not a quality setting: export size. Full size hands back the merge exactly as composed, while 1080p and 720p scale the finished image down for an upload limit. All three are free.
Drag the tiles. The strip under the preview holds every image you have added, in the order they will be drawn, and dragging one to a new position updates the preview immediately. Each tile has its own remove button too, so a wrong file does not mean starting the merge over.
You choose, because there is no single right answer. A phone photo next to a thumbnail wants different handling than two screenshots of the same window, and a tool that picks for you gets it wrong half the time.
- Reduce the biggest: The default. Large images scale down to match the smallest, so nothing is invented and nothing comes out soft.
- Magnify the smallest: Small images scale up to match the largest. Keeps the output big, at the cost of some softness in the small ones.
- Crop the biggest: Nothing is resized at all. Larger images lose their edges instead, cropped from the centre, so every pixel stays exactly as sharp as it started.
- Do not adjust: Every image keeps its own size and the canvas grows to fit them all.
'Constrain proportions' decides what happens to the leftover space: on, each picture keeps its aspect ratio and the gaps get filled with your background colour. Off, images stretch to fill their cell exactly.
Yes. Pick Transparent and the gaps between your images stay see-through, which is what you want when the merged image is going on top of something else, like a slide or a dark-themed post.
There is one catch worth knowing, and the tool will tell you about it rather than letting you find out from the file: JPG has no transparency. Ask for a transparent JPG anywhere and you get black or white corners. Here, a transparent background downloads as PNG instead, and a line on screen says so.
If you would rather have a colour, there are six one-tap presets (white, black, red, green, blue) plus a picker for your own hex, so a merge can match your brand instead of approximately matching it.
PNG, JPG, and WebP where your browser can write it. PNG is the safe default: it is lossless and it is the only one of the three that can hold a transparent background.
You also pick the export size. Full size gives you the merged image exactly as composed; 1080p and 720p scale it down for a post or an upload limit. Picking full size does not re-compress anything, so nothing is lost to a second encode.
It is a free image merger in the plain sense of the word: free at every size, with no account, no watermark and no upgrade. 1080p used to sit behind a Pro subscription and a mandatory sign-in; that is gone, because charging for a larger copy of the image you just made is a gate on the exact thing this page promises.
And private in the strong sense rather than the marketing sense: merging runs on a canvas in your browser, so your images never reach a server of ours. There is nothing for us to keep.
Ready to combine your images?
Merge images online, free, with nothing to install and nothing uploaded. Two, three or four files in, one clean share-ready image out.