Censor Image Online
Censor image online free, with no signup. Drop your picture and the black bar is already the armed style, so your first drag puts one exactly where you want it. Swap it for a mosaic, a blur, an emoji or a glitch in one click, resize it, add as many as the picture needs, and download at full resolution. Nothing is uploaded. PNG, JPG or WebP up to 25 MB.
Drop the image you want to censor
Opens on a black bar. Switch it to mosaic or blur in the panel if you want a softer look. Or press Ctrl + V to paste one straight from your clipboard. PNG, JPG or WebP, up to 25 MB. Edited in your browser, never uploaded.
Censorship Is a Look
Before It Is a Security Measure
Half the people who search for this want something hidden. The other half want it to be obvious that something was hidden. Those are two different jobs, and almost every tool in this category only admits to the first one.
The rest of the cover-it-up cluster
Same editor, set up for a different job the moment it opens.
Tools that pair well with this one
All free, all in your browser, no signup.
Why use Piknova?
Censor an image without handing it to a server. to get the job done.
What this censor tool does that an upload-and-wait censoring site makes you trust it with.
Piknova
What you get- Censor an image in the browser, no account
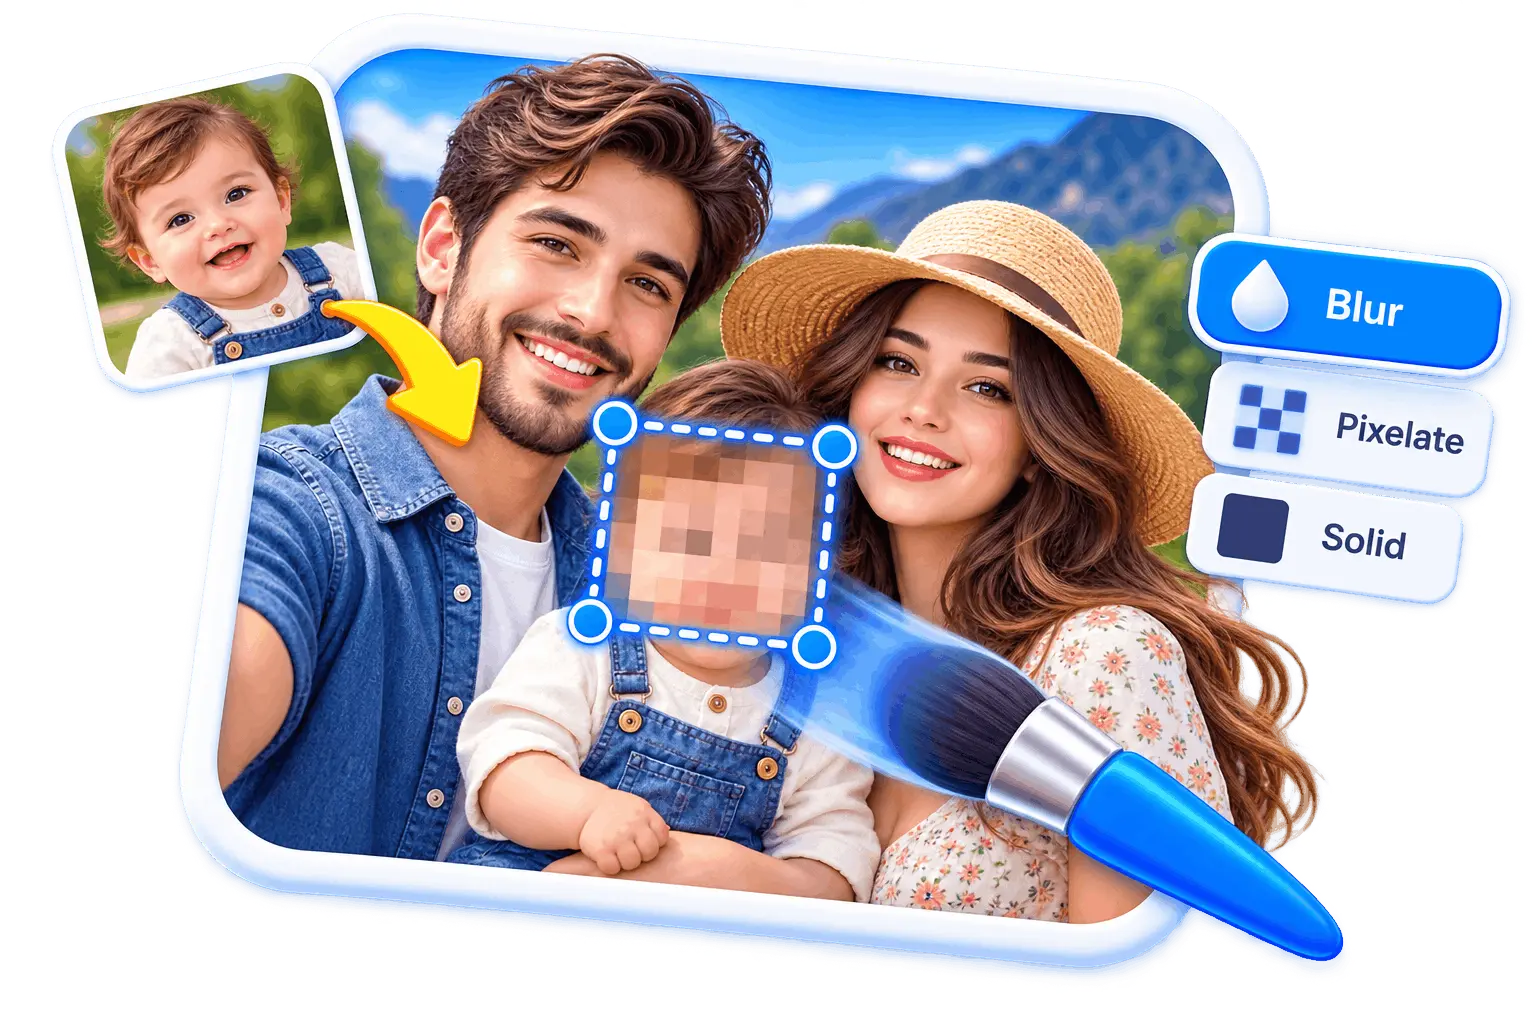
- Black bar, mosaic or blur, per region
- Cover as many regions as you need in one pass
- Exports at the original resolution, no watermark
- The image never leaves your device
Other tools
What you put up with- A signup before the first export
- One censor style on the free tier
- One region per run
- A watermark, or a smaller copy
- Uploaded to a server to process
How to censor an image
Three steps, no account, 25 MB per image.
- 01
Drop or paste your image
Drag a PNG, JPG or WebP onto the box, or press Ctrl+V to paste a screenshot straight from your clipboard. Nothing uploads.
- 02
Drag a bar over what you are censoring
The solid black fill is already armed. Drag a rectangle over it, or switch the style to mosaic, blur, an emoji or a glitch if you want a different register.
- 03
Add more, then download
Press the tool again for each new bar, so four things to cover is four drags. Export at full resolution, flattened, with no watermark.
The look
Black bar, mosaic, or blur, and what each one says
Censorship is a visual language, and the choice is aesthetic before it is technical. Each of these has been saying something specific for about forty years.
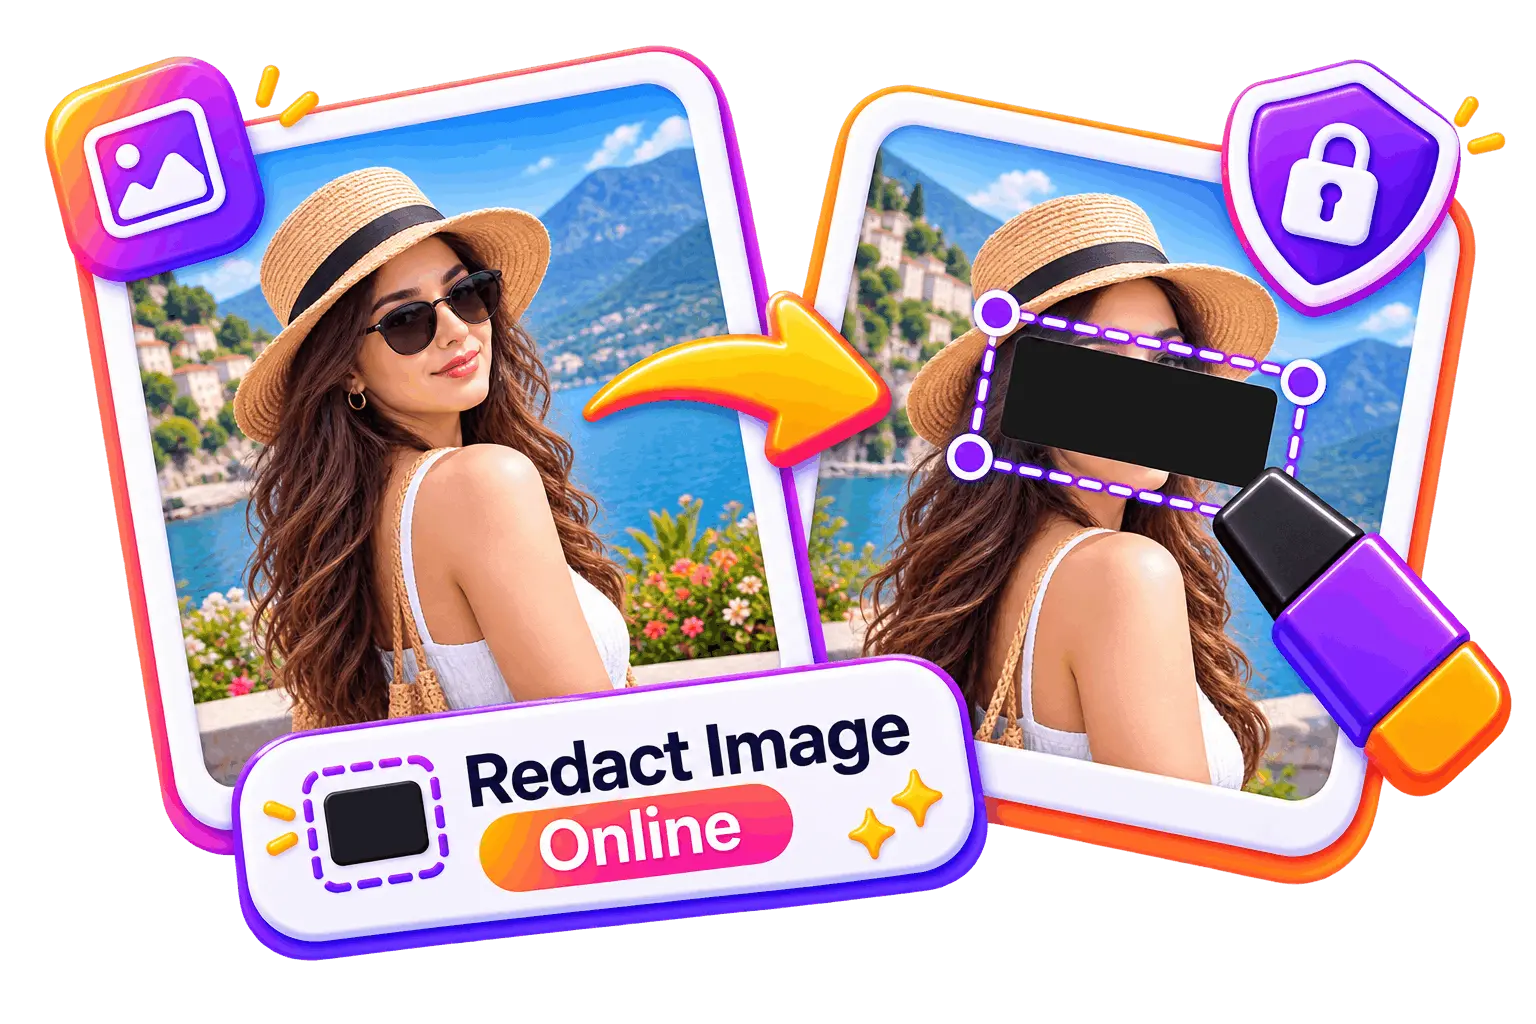
- The black bar: Reads as official. Documents, courtrooms, leaked paperwork, the eyes of someone who did not consent to be in the photo. It is the one people mean when they say censored, and it is the one armed by default here.
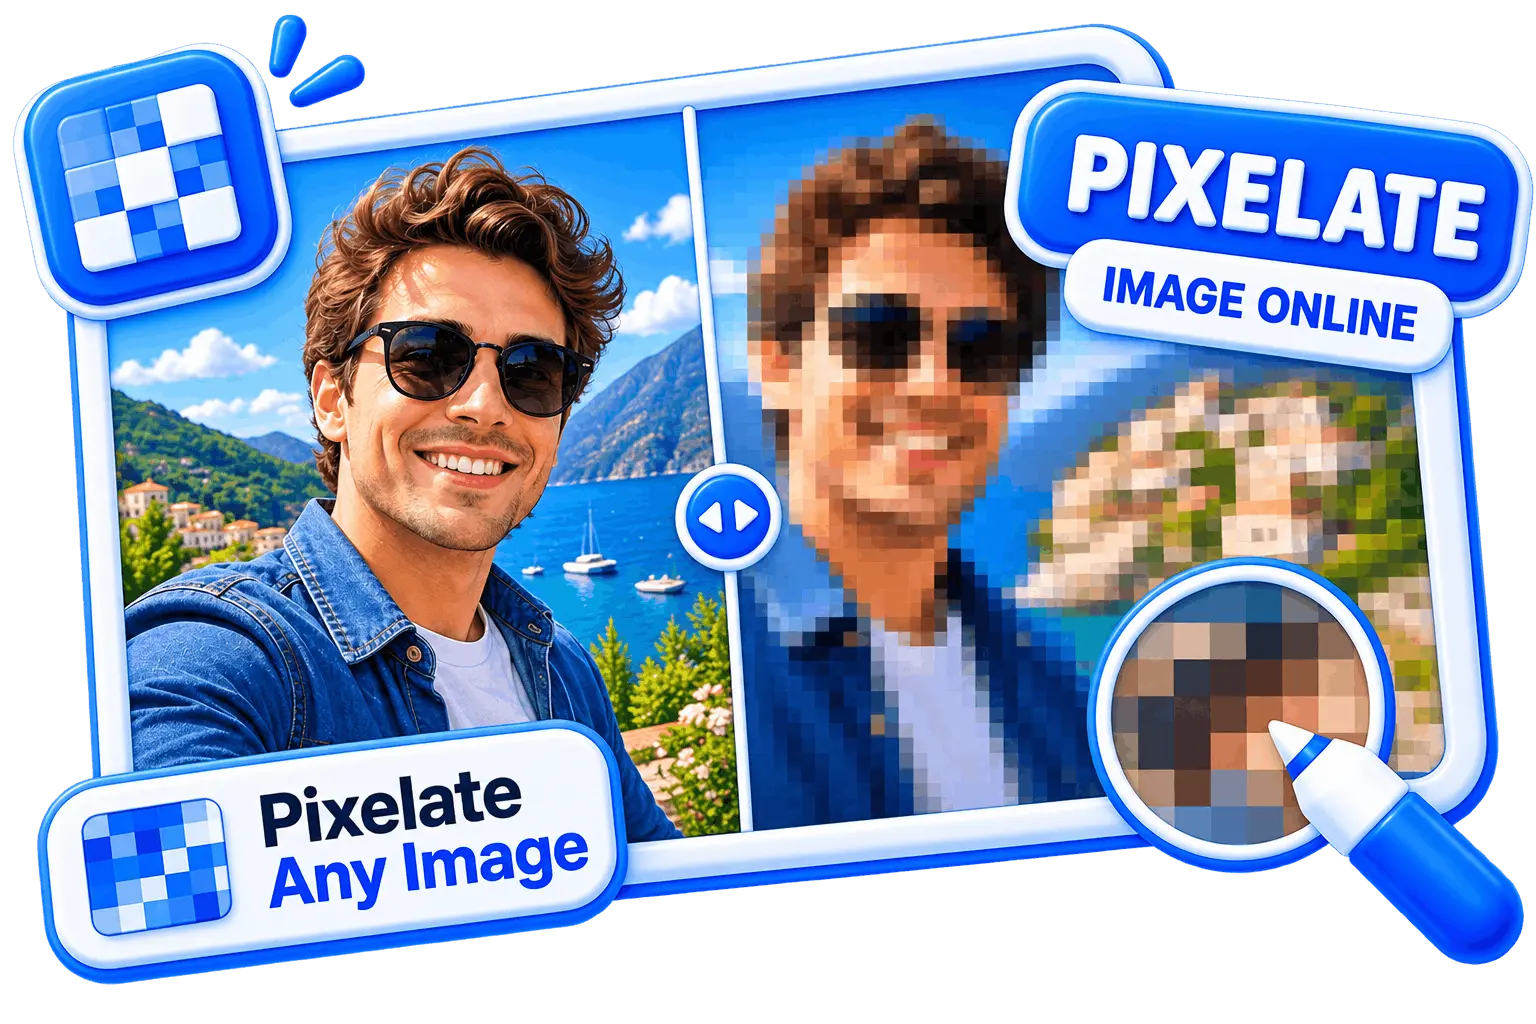
- The mosaic: Reads as broadcast television. A plate on a police show, a logo nobody cleared, a face on the news. Softer than a bar, and it keeps the shape of what is underneath, which is sometimes exactly the effect you want.
- The blur: Reads as tasteful. It says something is being kept private rather than being suppressed, and it is the only one of the three that leaves the picture still looking like a photograph.
- The emoji: Reads as playful. A sticker over a face in a group photo is a completely different message from a black bar over the same face, and that difference is the whole reason both exist.
- The glitch: Reads as damage or interference. Scrambled slices, for a screenshot you are posting for effect. It looks deliberate in a way none of the others do.
Pick the register first, then place the bar. The style is a setting on the region rather than a different tool, so changing your mind afterwards does not mean re-aiming something you already lined up carefully.
Making it look deliberate
Sizing a bar so it reads as a choice, not a mistake
A censor bar that looks accidental undermines the picture it is on. Three things separate one that looks placed from one that looks spilled.
- Cover generously on the axis that matters: A bar over a line of text should be taller than the text, not exactly its height. Descenders, the dot on an i and the top of a capital all poke out of a bar sized by eye, and a half-covered word is more readable than no bar at all.
- Keep the ends inside something: A bar that stops mid-air in the middle of a photo looks like a rendering fault. Run it to the edge of the thing it is covering: a table cell, a message bubble, the edge of the frame.
- Use one shape per picture: Three rectangles read as a redaction. Two rectangles and an oval read as somebody who could not decide. If one thing genuinely needs a different treatment then that is a reason, but do it on purpose.
Every bar stays editable until you export, so you can drag a rough one, switch to the select tool, and pull its handles until the edges land where you want them. Nothing is baked in until you press download.
There is no snapping here and there are no alignment guides, and this page is not going to pretend otherwise. What there is instead is the layers panel, which lists every bar you have placed, so you can confirm you covered four things rather than three before you post.
Frequently asked questions
Which look to pick, how to make the classic bar, and when the look is not enough.
In practice, the stakes and the intent. Censoring is about the look: a bar over a spoiler, a mosaic on a logo, a sticker over a face in a group photo. Whether the pixels underneath survive is often beside the point, and sometimes the whole point is that everyone can see something was covered.
Redacting is about the information. The word comes from documents, it assumes somebody may try to get the covered part back, and the only acceptable result is that they cannot. If that describes what you are doing, the redaction page is the one written for it.
It is already armed. Drop your image and drag a rectangle over what you are covering: the solid black fill is the default style on this page, so the first thing you draw is the bar. If you want a different colour, open the fill picker and choose one, and every bar after it comes out the same colour.
Yes. Switch the style to Sticker and pick any emoji, and the region fills with it. The strength slider controls how big each one is, so a low value tiles a row of small ones along a long field and a high one drops a single large emoji over a face. It covers just as completely as a black bar, since neither one looks at the picture underneath.
Not with a solid fill or an emoji. Both of those paint over the region without reading it, so there is nothing underneath in the exported file at any zoom level. A blur or a mosaic is different: those transform the pixels rather than replacing them, so zooming shows exactly what the transformation left behind, which on a heavy setting is nothing useful and on a light one can be more than you intended.
Yes, one drag each. A new bar lands selected so you can line it up, then pressing the tool again starts the next. Each bar is a separate layer you can move, recolour, restyle or delete on its own. The layers panel lists them, which is worth a glance before you post if you were covering several names.
No. Only the regions you covered change. Everything outside them exports at the resolution and quality it came in at, full size, with no watermark. If you need the file smaller afterwards that is a separate job, and the compressor does it without touching the bars.
Free, unlimited, no account, no watermark and no export cap. The censoring happens on your computer rather than on a server, so there is no per-image cost for us to pass on to you.
Yes. Nothing is applied permanently until you export. Move a bar, resize it, change its colour or its style, or delete it entirely, and the original pixels are still sitting underneath until the moment you download.
Put the bar where it belongs
Drop your image, drag a bar over it, pick the look you want, and download. Nothing gets uploaded and nothing gets watermarked.