
Blur Image Online
Blur image online free, with no signup. Drop your picture and the redact tool is already armed and set to blur, so your first drag covers the part you want gone: a face, a licence plate, an address, an account number in a screenshot. Blur it, pixelate it, or cover it with a solid block, and everything outside your selection stays exactly as sharp as it was. Nothing is uploaded. PNG, JPG or WebP up to 25 MB.
Drop an image to blur part of it
The redact tool opens set to blur, so your first drag covers the face, the plate or the number. Or press Ctrl + V to paste one straight from your clipboard. PNG, JPG or WebP, up to 25 MB. Edited in your browser, never uploaded.
The Thing You're Hiding
Never Leaves Your Device
There is a problem with most blur tools, and it is the same problem every time. You found the tool because you need to hide something. And the first thing it asks you to do is upload that exact file to a server you have never heard of.
Hiding one particular thing?
Same editor, and each of these opens with the tool already set up for its own job rather than for the general case.
Tools that pair well with this one
All free, all in your browser, no signup.

Why use Piknova?
Blur an image without uploading it anywhere. to get the job done.
What this blur tool does that the typical online blur site makes you upload for.
Piknova
What you get- Blur an image online, no signup, no install
- Blur the whole picture or just one region
- Set the strength and see it before you export
- Exports at the original resolution, no watermark
- The image stays on your device
Other tools
What you put up with- A signup before the download
- Whole-image blur only, regions in the paid tier
- One blur level, hope it is enough
- A watermark, or a compressed export
- Uploaded, blurred on a server, then returned
How to blur part of an image
Three steps, no account, 25 MB per image.
- 01
Drop or paste your image
Drag a PNG, JPG or WebP onto the box, or press Ctrl+V to paste a screenshot straight from your clipboard. Nothing uploads.
- 02
Drag over the area you want hidden
The redact tool is already armed when the editor opens, set to blur. Drag a rectangle or an ellipse, or switch the area control to Freehand and trace an awkward shape. Add as many regions as you need.
- 03
Pick a style and strength, then download
Blur, pixelate, a solid block, an emoji or a glitch, at whatever strength reads the way you want. Export at full resolution, flattened, with no watermark.
Selective blur
Blur one part, leave the rest sharp
Most of the time you do not want a blurry photo. You want a sharp photo with one thing missing from it.
Drag a box over the area and it blurs at whatever strength you set. Everything outside the selection stays exactly as it was: same resolution, same colour, same detail. Add a second region and a third, and they are separate masks, so you can move one, restyle it, or delete it without disturbing the others.
- Rectangle: The fastest for a line of text, an account number, a licence plate. Anything that is already a horizontal strip.
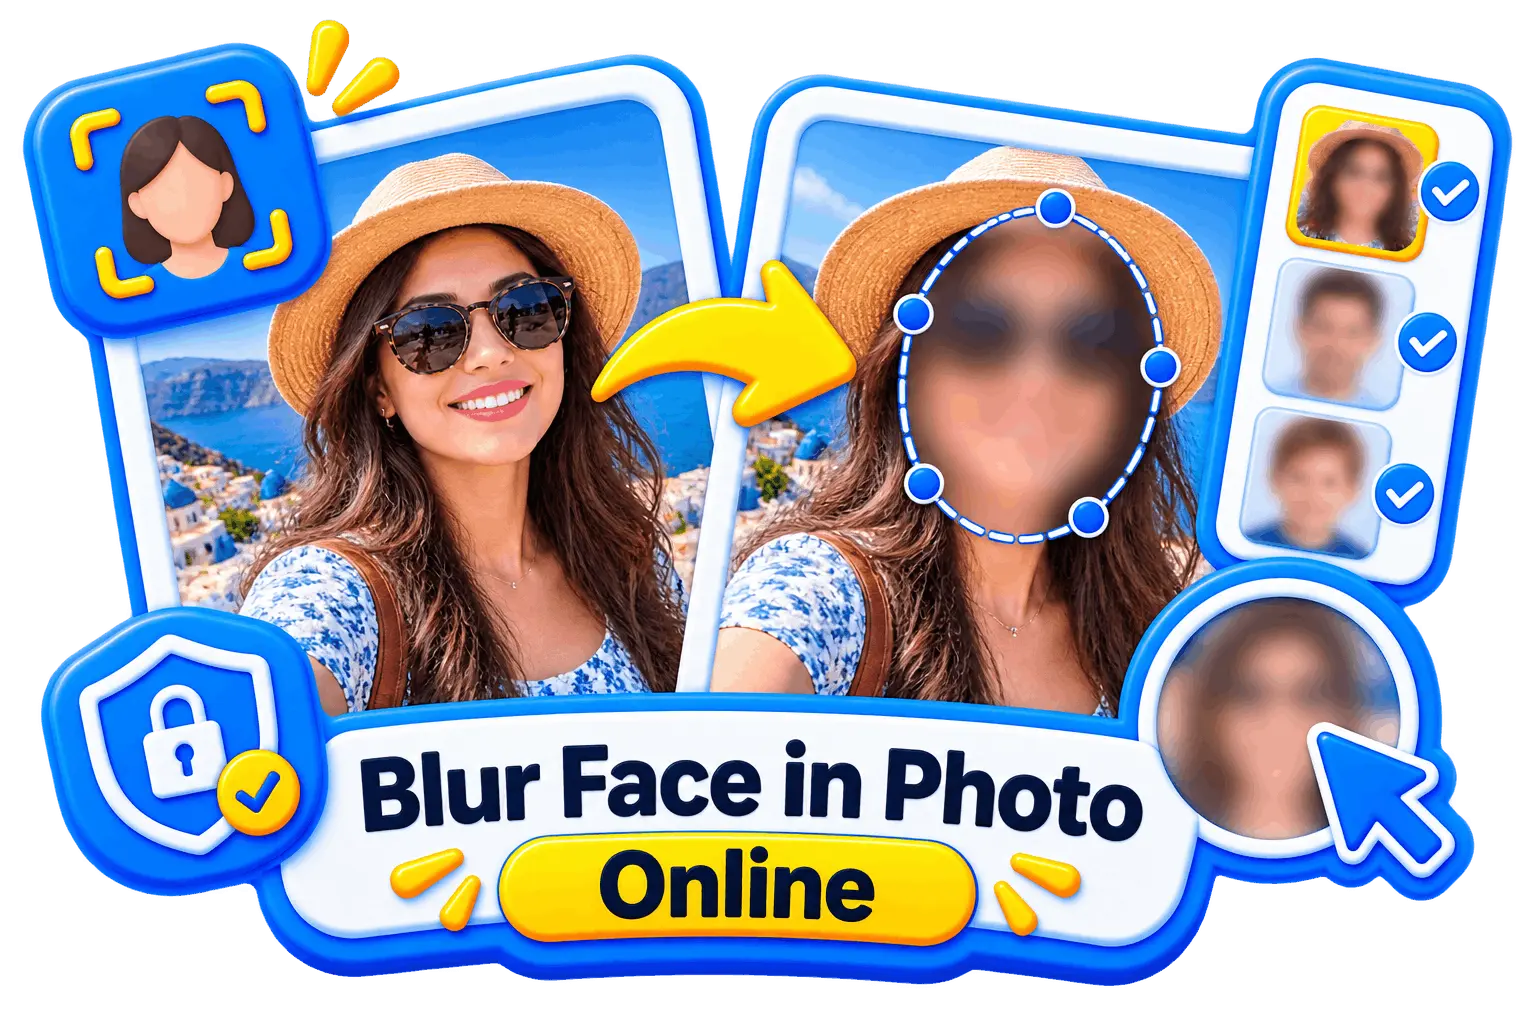
- Ellipse: Better for faces. A hard rectangle over someone's head reads as obviously placed in a way a soft oval does not.
- Freehand: For a shape that fits neither: a tattoo, a signature, a logo on a shirt, a name badge at an angle. Switch the area control to Freehand and trace around it.
- Strength: Low for a soft de-emphasis, high when the point is that nobody can read it. The radius scales to the region's own size, so the same slider position hides the same amount on a small number and a large face.
Nothing is baked in until you export, so you can undo, reposition, or change your mind about the method right up to the moment you hit download. Placing a region and then deciding it should be a black box instead does not mean redrawing the area you just aimed carefully: the style is a setting on the region, not a different kind of object.
What actually works
Blur, pixelate, or a solid block, and which one is actually safe
This is the section most tools skip, and it is the one that matters, because the popular choice is the weakest one.
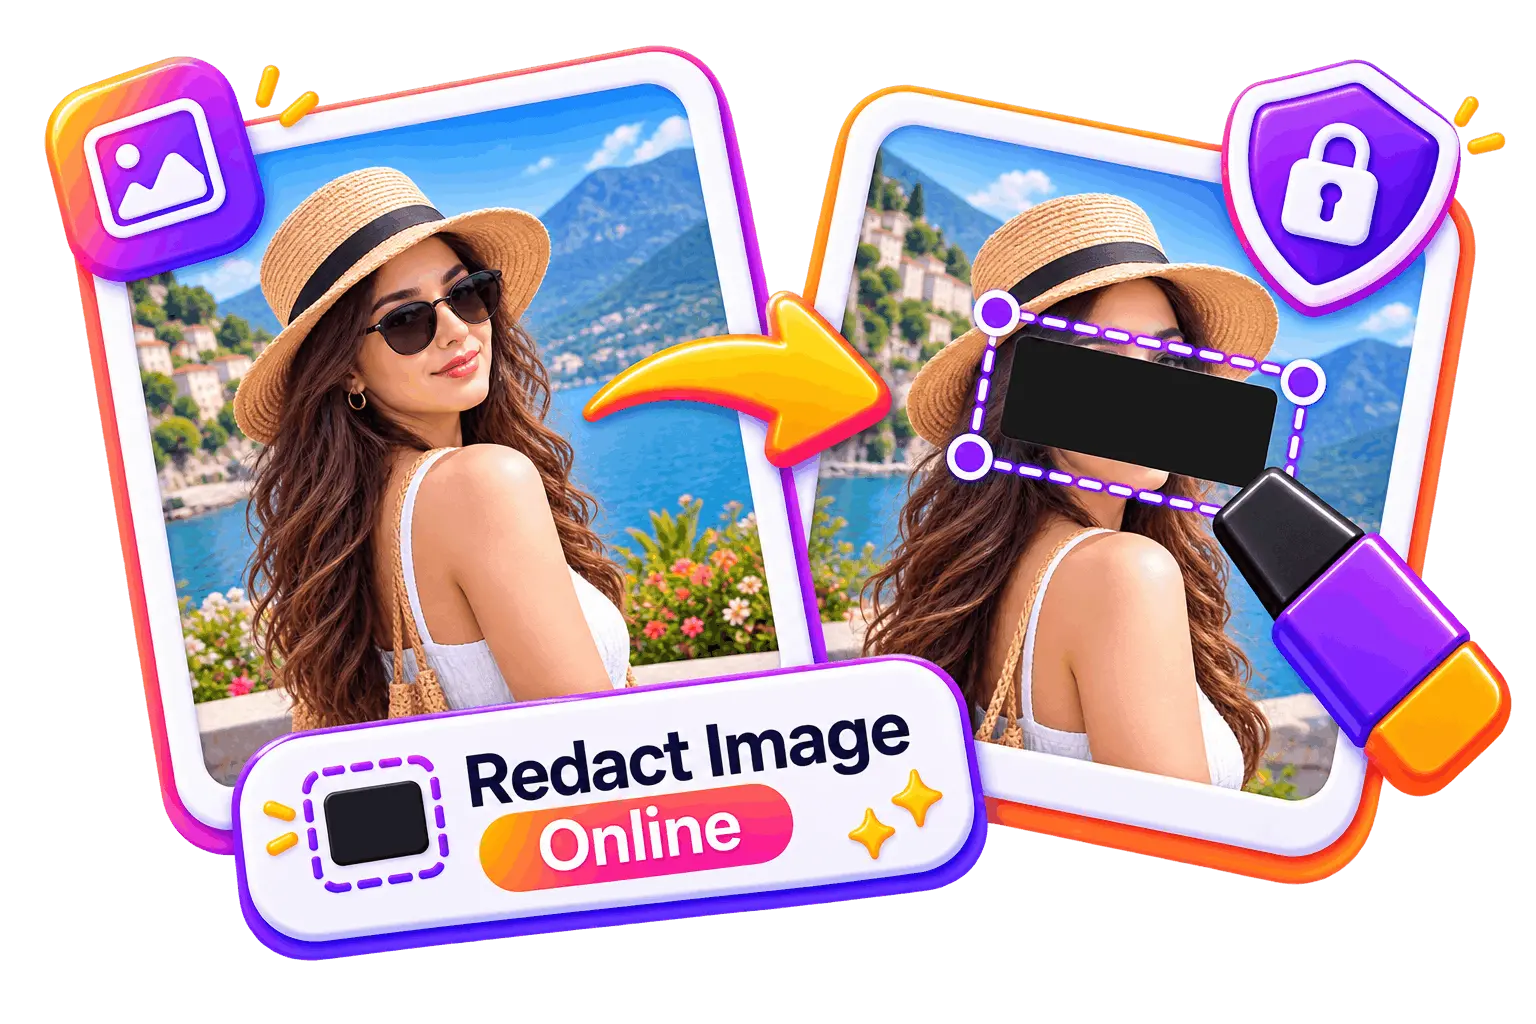
Pixelation is the least safe, and it is the one everybody reaches for. A mosaic is a deterministic function: each block is the average of the pixels underneath it. If someone knows roughly what they are looking for, a number, a name, text in a familiar interface font, they can render candidate strings, pixelate them the same way, and compare block values until they match. Tooling that automates exactly that against pixelated screenshots has been public since 2020. For text, treat pixelation as decoration rather than protection.
Blur is better, and it depends entirely on strength. A blur is a convolution, and convolutions can be partially inverted. A light blur over small text is recoverable to a meaningful degree; a heavy blur over a large region is not, practically speaking, because too much information is genuinely gone. If you are using blur to hide something that matters, turn it up until the region looks like a smudge rather than like slightly soft text.
Distortion effects are worse than either. Swirl and twirl filters are fully invertible: you apply the inverse transformation and the original comes back. Interpol reversed exactly such a filter to identify a suspect in 2007. Never use one for privacy. The glitch style here is in the same family, and it is offered for a screenshot you are posting for effect, not for a card number.
A solid block on a flattened export is the only one with no way back, because there is no data left underneath it. So: use Solid for anything that would genuinely hurt you, meaning account numbers, ID numbers, addresses, passwords and tokens. Use a heavy blur when you want the image to still read as a photograph. Use pixelation when the point is to signal that something was censored rather than to defeat someone trying to recover it. The redact panel says the same thing at the moment you choose, instead of leaving you to find out afterwards.
The one that catches people out is not a choice of style at all. Covering something in a layered editor and then saving in a format that keeps layers, or drawing a black rectangle over text in a PDF, does not delete anything: the data is still in the file, underneath. Every leaked-redacted-document story you have read is that mistake. Exports here are flattened, so what you see is all the file contains.
Faces, plates and documents
What people actually hide in an image
The list is shorter than you would think, and two things on it are the ones everybody forgets.
- Faces: Kids in a family photo going somewhere public, bystanders in a street shot, a colleague who did not agree to be in your conference photo.
- Licence plates: The one everybody forgets when listing a car. A plate plus a house in the background is more than enough to locate someone.
- Account and card numbers: In a screenshot of a banking app, on a receipt, on an invoice you are forwarding with somebody else's details still on it.
- Addresses: On a parcel label, a utility bill, a delivery confirmation. Usually in a corner nobody looked at before hitting send.
- Names and emails: In a screenshot of a chat, a support ticket, or a review you are quoting somewhere else.
- Screenshot chrome: The browser tab strip, the open bookmarks, the notification that arrived at exactly the wrong moment.
Two things worth knowing before you post. The first: blurring one photo does not help if the same person is unblurred in the next one. Check the whole set rather than the file in front of you, because a face recovered from image three identifies the blurred one in image one.
The second: the image file remembers where it was taken. A photo from a phone carries GPS coordinates, the device model and a timestamp in its EXIF data, and blurring pixels does nothing to any of it. Exports from here are redrawn onto a canvas and re-encoded, which means none of that metadata survives into the file you download.
Screenshots
Paste it, hide the number, send it
A screenshot is the most sensitive image most people ever edit, and the workflow around it is worse than it needs to be.
You capture something, and the editor makes you save it to disk, find it again, and upload it. Three steps that exist for the tool's benefit rather than yours, with the sensitive file sitting in your Downloads folder the whole time. Press Ctrl+V, or Cmd+V, anywhere on this page instead, and the editor opens with your screenshot already in it.
- Windows: Win + Shift + S copies a region you draw straight to the clipboard.
- macOS: Cmd + Ctrl + Shift + 4 does the same thing without writing a file.
- Anywhere else: Drag the file onto the box above. Same result, one more step.
For a bug report or a support ticket, a solid block over the token and the account ID takes about four seconds, and the file never touches your disk unless you want it to. If the screenshot also needs an arrow and a label explaining the bug, the annotation page opens the same workspace with the whole markup kit on the rail.
Honest scope
What this does, and what it does not
The short version, so nobody spends five minutes finding out the hard way.
It does: rectangular, elliptical and freehand region masking; a real Gaussian blur with adjustable strength; pixelation with adjustable block size; a solid colour fill; an emoji sticker; a glitch; as many independent regions per image as you need; full undo; and a flattened full-resolution export in PNG, JPG or WebP.
- It does not un-blur anything: People ask. If you have a blurred image and you want it sharp, that is not what this is, and any site promising it is either upscaling a guess or lying about what it recovered.
- It does not blur video: Video needs a server, and the whole argument on this page is that nothing goes to one.
- It does not find faces for you: Right now you drag over each face yourself. Automatic detection is being built and it will run in your browser like the rest of the tool. We would rather say that than put a Soon badge on a button that does nothing.
- It cannot guarantee anonymity: A blurred face in a photo where the clothing, the location and the caption identify the person is not anonymous. This hides pixels. It cannot hide context.
One more thing it does not do, which is worth stating because it is a limitation of the approach rather than a missing feature: a region only samples the picture underneath it. Text, arrows and shapes you added on top of the image are not blurred by a region drawn over them. For redaction that is the behaviour you want, since nobody wants to blur their own callout, but it is worth knowing before you wonder why a label stayed crisp.
Frequently asked questions
How blurring works here, which method is safe, and where it stops.
Drop your image on the box above, or press Ctrl+V to paste one. The editor opens with the redact tool already armed and set to blur.
Drag a selection over the area you want hidden, pick blur, pixelate or a solid block, and set the strength. Download when it reads the way you want. No account, no watermark.
Yes. Drag one region from corner to corner and the whole picture blurs at whatever strength you set. The tool is built around regions because that is what people usually want, a sharp photo with one thing missing from it, but nothing stops a region being the entire frame.
No. Your browser opens the file and does the masking locally. Nothing is sent to a server, nothing is stored, and nothing is sitting somewhere waiting to be deleted. That matters more here than on any other tool on this site, because the file you are editing is the one you decided was too sensitive to post.
Partially, sometimes, depending on how it was done. A light blur over small text can be meaningfully recovered by deconvolution. A heavy blur over a large area destroys enough information that it is not practical. If what you are hiding would genuinely hurt you if it came out, use a solid block instead: that one has nothing left underneath it to recover.
No, and this is the common mistake. Pixelation averages a fixed block of pixels, which makes it reversible by brute force when the attacker knows what kind of thing they are looking for, such as a number, a name, or text in a known font. Public tooling for exactly that has existed since 2020. Use pixelation when you want something to look censored, not when it needs to stay hidden.
A solid block, exported flattened. There is no data underneath a filled rectangle in a flattened file, so there is nothing to reconstruct. Everything else is a trade-off between how safe it is and how natural the result looks, and the redact panel tells you that where you pick rather than afterwards.
Yes. Add as many regions as you need. Each one lands selected so you can line it up, then pressing the tool again starts the next, so a photo with four faces is four drags. Each region is a separate mask you can move, resize, restyle or delete without affecting the others.
Not yet. Right now you drag over each face yourself, and an ellipse is the shape to use because a hard rectangle over someone's head looks obviously placed. The face page opens with that ellipse already armed at a heavier blur, so it is the faster way in. Automatic detection is being built and it will run in your browser like the rest of the tool.
Yes, and pasting is the fast way to do it: take the screenshot, press Ctrl+V here, drag over the line, pick your method. For anything genuinely sensitive like a token or an account number, use a solid block rather than a blur, because text is the case where a weak blur is most recoverable.
No. The export is redrawn onto a canvas and re-encoded from raw pixels, so the EXIF block in the original, including GPS coordinates, device model and timestamp, does not carry through. Worth knowing because blurring pixels does nothing to metadata, and a photo with a hidden face can otherwise still say precisely where it was taken.
PNG, JPG and WebP, up to 25 MB. Screenshots are usually PNG, which is also the best format to export back to. If you export a transparent PNG as JPG the editor warns you first, because JPG has no transparency and those areas would come out white.
Yes. Nothing is applied permanently until you export. Move a region, change the method, adjust the strength, or delete it entirely, and the original pixels are still there underneath until the moment you download.
No. Only the regions you selected are altered. Everything outside them comes out at the resolution and quality it went in at, and the export is full size with no watermark.
Free, unlimited, no account, no watermark, no export cap. The work happens on your computer rather than ours, so there is no per-image cost for us to pass on to you.
Yes, though a larger screen makes precise selection easier. Tap and drag to place a region as normal, and the freehand mode works with a finger for the shapes a rectangle cannot cover.
Blur it before you send it
Drop your image, cover what should not be public, and download. Nothing gets uploaded and nothing gets watermarked.