
Compress Image to 100KB
Compress any JPG, PNG or WebP to 100 KB or under, with the target preselected and the actual output size shown before you download.
Drop an image to compress it to 100 KB
JPG, PNG or WebP, up to 25 MB. Compressed in your browser, never uploaded.
The most-asked-for
number on the web
100 KB is the default answer for websites, upload forms and content systems alike, which is why more people search for it than for any other size. It is also the point where a photograph can stay genuinely good while still being small.
Other sizes and settings
Same compressor, different target. Each one opens with its number already set.
Tools that pair well with this one
All free, all in your browser, no signup.

How to compress an image to 100 KB
Three steps, all of them in this browser tab. Nothing is uploaded to a server, so the 100 KB file you end up with never leaves your device.
Add your image
Drag a JPG, PNG or WebP onto the drop area above, or click to pick one. Files up to 25 MB are fine.
Confirm the 100 KB target
100 KB is already selected, so there is nothing to set. Type a different number if your form asked for one.
Compress and download
Press Compress, check the size it actually reached, and download. You will see the original and the 100 KB version side by side first.
The short answer
Why do so many websites require images under 100KB?
Because 100 KB is roughly the largest single image that does not measurably hurt how fast a page feels.
Page speed is judged on how quickly the main content appears, and on a typical connection every 100 KB of image adds a noticeable fraction of a second. A page with ten images at 100 KB each is carrying a megabyte. The same page at 500 KB each is carrying five, and that is the difference between a page that feels immediate and one that visibly assembles itself.
Content systems inherited the number from that reasoning. Upload caps at 100 KB in a CMS, a forum, or a job portal are usually a page-speed policy rather than a storage one, because storage has been cheap for years and attention has not.
The happy part is that 100 KB is genuinely enough for most web images. A well-cropped photograph at 100 KB, displayed at the size a web page actually shows it, looks correct to essentially everyone. The cap is not asking you to sacrifice much.
Getting it right
How to keep the best quality under 100KB
At this size the biggest wins are about dimensions and source quality, not about the compression setting.
Resize to the dimensions you will actually display before compressing. An image shown in a 800 pixel wide column does not benefit from being 4000 pixels wide, and those extra pixels are consuming your entire 100 KB budget. Halving the width roughly quarters the pixel count, which buys an enormous amount of quality at a fixed file size.
Compress once, from the original. Each lossy pass encodes the previous pass's artifacts as if they were real detail, so a file that has been through three tools looks noticeably worse at 100 KB than one compressed a single time from the source.
Match the format to the content. Photographs belong in JPG or WebP. Screenshots, diagrams, logos and anything containing text belong in PNG, where this tool reduces the colour count rather than blurring the pixels, keeping every edge perfectly sharp.
Formats
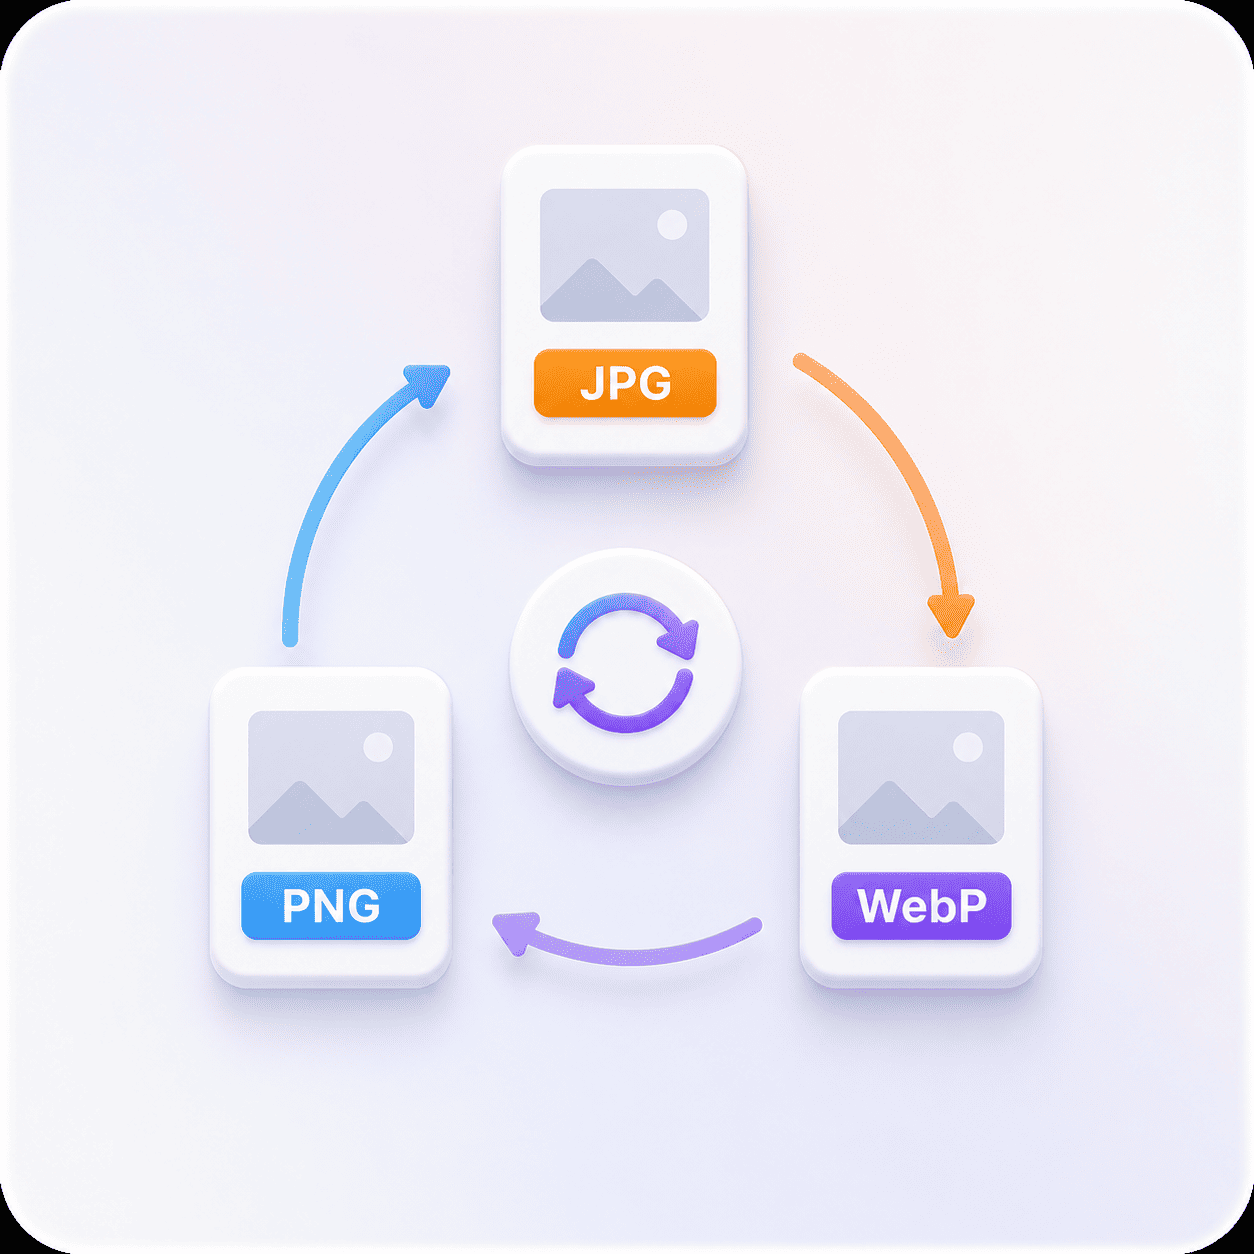
JPG vs PNG vs WebP at 100 KB
The same 100 KB target produces three different outcomes depending on what you upload, because the three formats get there by different means.
| Format | How it reaches 100 KB | How it holds up |
|---|---|---|
| JPG | Encoder quality is lowered until the file fits | Comfortable for a correctly sized photo. |
| PNG | Colour count is reduced and the file rewritten | Fine for screenshots and logos, tight for PNG photos. |
| WebP | Encoder quality is lowered, more efficiently than JPG | Usually the best looking of the three at 100 KB. |
If your image is a photograph and it is already a JPG or WebP, 100 KB is a straightforward ask. If it is a PNG photograph, converting it to JPG first will get you a better looking result at 100 KB than compressing it as a PNG will.
Pick a size
100 KB vs 60 KB vs 90 KB
If the number you were given is not 100 KB, one of these is. Each opens the same tool with its own target already set.
The quality difference between neighbouring sizes is much larger at the small end than at the large end. Going from 15 KB to 30 KB transforms a photograph. Going from 200 KB to 500 KB is barely visible on most images. That is worth knowing if you have any choice about which limit to work to.
What the 100 KB compressor does for you
Everything below happens on your own device, in the time it takes to read this line.
Lands under 100 KB
The tool searches for the highest quality whose output still fits under 100 KB, then tells you the size it reached.
Your format, kept
A PNG comes back a PNG, a JPG comes back a JPG. We never convert your file to get a better number.
Nothing leaves your device
The work runs in your browser. No upload, no queue, no copy of your image on anyone's server.
See the saving before you keep it
Original and result side by side, with both exact sizes and the percentage saved, before you download anything.
Works on a phone
The whole tool runs in a mobile browser, which matters when the photo you need to shrink is already on your phone.
Free, with no account
No signup, no watermark and no daily cap. Compress as many files as you need.
Compressing to 100 KB: common questions
What people ask before and after they hit the 100 KB button.
For most purposes, yes. A photograph resized to its display dimensions and compressed to 100 KB looks correct on screen, and it is small enough not to slow the page down.
Full-width hero images on large displays are the case where 100 KB starts to show. Those are asked to cover far more screen area, so if the image is a page-wide banner rather than an in-article photo, expect to need more room.
Drop it into the tool at the top of this page. The target is already set to 100 KB, so pressing Compress searches for the highest quality whose output still fits under that ceiling and reports the size it reached.
You will get a result at or just under 100 KB rather than exactly 100 KB. That is intentional: quality settings move in steps, and the only way to land on a precise byte count would be to pad the file with data that serves no purpose.
Not usually at this size. 100 KB is far enough up the quality curve that a correctly sized photograph keeps its detail, and the compression is not visible at normal viewing distance.
Blurriness at 100 KB almost always means the image is much larger in pixel dimensions than it needs to be, so the budget is spread too thin. Resize it to its display size first and the same 100 KB will look sharp.
No. The compression runs inside your browser, using the canvas your browser already ships with. Your file is read from your own device, processed in memory, and handed straight back to you.
Nothing is transmitted, which means nothing can be stored, logged or leaked. It also means the tool keeps working if your connection drops halfway through.
Free, with no watermark, no account and no daily limit. Compressing to 100 KB costs you nothing and produces a clean file.
There is nothing to sign up for because there is no server doing the work. The tool is the page you are already on.
JPG (and JPEG, which is the same format), PNG and WebP, at up to 25 MB per file. Your file comes back in the format you gave it.
HEIC from an iPhone, AVIF and GIF are not supported yet. If your photo is a HEIC, exporting it as a JPG first will let you compress it here.
100 KB, and you can see the number
Original size, compressed size, and what you saved. Then download it.